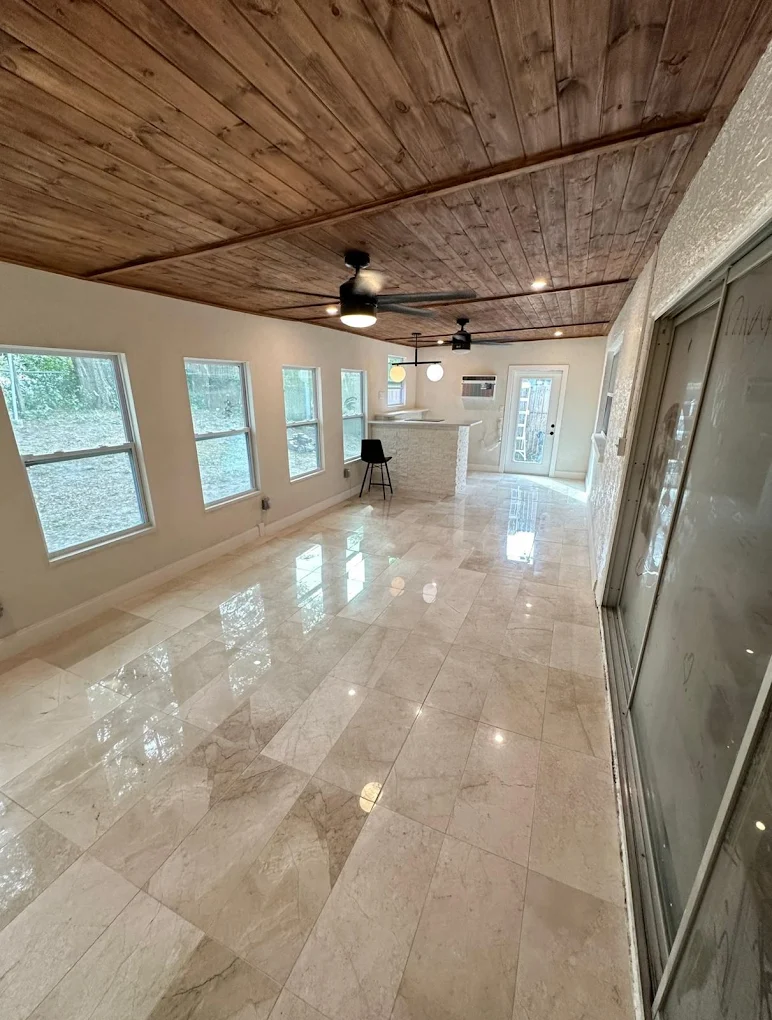
Whether you’re dealing with faded finishes, light scratches, worn traffic paths, or minor surface damage, hardwood flooring renovation is about preserving character while improving durability. Having worked around home improvement projects for years, I’ve noticed that many homeowners assume their floors are beyond saving when, in reality, they simply need proper restoration.
Why Renovating Hardwood Floors Makes Sense
Every hardwood floor tells a story. Furniture has been rearranged, children have played across it, pets have left their marks, and sunlight has gradually changed its appearance. These signs of life don’t necessarily mean the flooring has reached the end of its lifespan.
Renovation offers several advantages:
- Restores the natural beauty of the wood.
- Extends the floor’s lifespan.
- Improves the appearance of the entire room.
- Preserves original materials that often have higher quality than many modern alternatives.
- Allows homeowners to change stain colors or finishes during refinishing.
Many older homes contain hardwood that would be difficult to replace with wood of the same quality today, making renovation an investment in preserving craftsmanship.
Knowing When Your Hardwood Floors Need Renovation
Not every scratch requires sanding, but certain signs indicate it’s time to consider renovation.
Common indicators include:
- Dull or faded finish.
- Deep scratches in high-traffic areas.
- Water stains that haven’t penetrated too deeply.
- Minor gaps caused by seasonal movement.
- Surface discoloration from sunlight.
- Areas where the protective finish has completely worn away.
One common mistake I see homeowners make is waiting until damage becomes severe. Small issues are much easier—and usually less disruptive—to address than widespread deterioration.
Start With a Thorough Assessment
Before any sanding equipment comes out, it’s important to understand the condition of the floor.
A proper inspection should identify:
- Loose boards.
- Squeaky sections.
- Nail pops.
- Moisture-related damage.
- Previous repairs.
- Areas requiring board replacement.
Not every floor needs aggressive sanding. Sometimes a screen-and-recoat process is enough to restore the finish without removing significant wood.
Choosing the least invasive method that achieves the desired result helps preserve the flooring for future renovations.
Preparing the Space Properly
Successful hardwood renovation begins long before refinishing starts.
Preparation usually involves:
- Removing all furniture.
- Taking off base shoe molding if necessary.
- Cleaning dust and debris thoroughly.
- Checking indoor humidity levels.
- Protecting adjacent rooms from dust.
While modern dust-containment systems have improved significantly, careful preparation still makes cleanup much easier.
Sanding: The Foundation of Quality Results
Sanding is often the most technical part of hardwood floor renovation. Removing old finish evenly without creating dips or uneven surfaces requires both patience and experience.
Professionals typically progress through multiple grit levels rather than trying to remove everything with coarse sandpaper alone.
A gradual sanding sequence creates:
- Smoother surfaces.
- Better stain absorption.
- More consistent finish.
- Reduced swirl marks.
Rushing this stage usually creates imperfections that become even more noticeable once stain and finish are applied.
Choosing the Right Finish
Today’s homeowners have more finish options than ever before.
Popular choices include:
Oil-Based Polyurethane
Known for:
- Warm amber appearance.
- Excellent durability.
- Longer drying time.
- Rich traditional look.
Water-Based Polyurethane
Offers benefits such as:
- Faster curing.
- Low odor.
- Clear finish that doesn’t yellow.
- Easier maintenance.
Natural Oil Finishes
Preferred by some homeowners because they:
- Highlight natural wood grain.
- Allow easier spot repairs.
- Create a more natural appearance.
- Require periodic maintenance.
The best finish depends on household activity, maintenance preferences, and the desired appearance.
Repairing Small Imperfections Before Refinishing
A quality renovation isn’t only about sanding and coating.
Minor repairs should happen first, including:
- Filling nail holes.
- Replacing damaged boards.
- Securing loose planks.
- Repairing edge damage.
- Filling small gaps where appropriate.
Insider tip: Resist the temptation to fill every seasonal gap between boards. Hardwood naturally expands and contracts with humidity changes. Filling normal movement gaps often leads to cracked filler later.
Color Changes During Renovation
Renovation also provides an opportunity to refresh the style of a room.
Some homeowners prefer lighter finishes that brighten interiors, while others choose medium or darker stains for added warmth.
Before committing to a stain color, test samples directly on the floor. Lighting conditions can dramatically change how a stain appears between morning and evening.
This simple step helps avoid surprises after the entire floor has been coated.
Protecting Newly Renovated Floors
The work doesn’t end after the final coat dries.
Proper care during the first few weeks is especially important.
Helpful practices include:
- Waiting the recommended time before replacing furniture.
- Using felt pads under chair and table legs.
- Avoiding area rugs until the finish fully cures.
- Keeping pet nails trimmed.
- Cleaning with products recommended for hardwood finishes.
These small habits significantly extend the life of the renovation.
Lessons From Other Surface Restoration Projects
Although hardwood flooring and automotive paint are completely different materials, both require careful surface preparation before protective finishes are applied. Professionals working in restoration often emphasize that skipping preparation usually leads to disappointing long-term results. Similar principles are discussed in this guide on Paint correction richmond va, where proper correction before protection is essential for achieving lasting results.
The underlying lesson remains the same: quality restoration begins beneath the final finish.
Insider Tip: Watch the Room’s Humidity
One detail that’s often overlooked is indoor humidity during and after renovation.
Hardwood performs best when humidity stays relatively stable throughout the year. Sudden swings can contribute to seasonal gaps, slight cupping, or expansion.
Using a simple indoor hygrometer can help homeowners monitor conditions, especially during winter heating or humid summer months. Maintaining balanced humidity often protects the renovation just as much as regular cleaning.
Common Mistakes to Avoid
Even well-intentioned homeowners sometimes shorten the lifespan of their renovated floors.
Some of the most common mistakes include:
- Using excessive water during cleaning.
- Sliding heavy furniture instead of lifting it.
- Waiting too long before addressing scratches.
- Applying wax to polyurethane-coated floors.
- Ignoring humidity fluctuations.
Avoiding these habits helps maintain the freshly restored appearance for many years.
Final Thoughts
Hardwood flooring renovation is less about making old floors look brand new and more about preserving the natural beauty that made them worth installing in the first place. With proper assessment, careful preparation, thoughtful repairs, and the right finish, even heavily used hardwood can regain much of its original warmth and elegance.
Also read for more information so click here.
